 twobucket.

Before and after photos of a car detail start with one simple habit: photograph the car exactly as you found it, before you wash or vacuum anything, then shoot the same angles again when you finish. The pair tells the full story of what you did, and it protects you if a customer asks about a scratch that was already there.
This guide covers a walkaround shot list you can follow on every job, how to handle light and angles, what to capture inside the cabin, close-ups that show the difference, and what to think about before you post anything. At the end, we explain how to keep those photos attached to the job in TwoBucket.
Why before photos matter as much as after photos
The after shot gets the attention, but the before photo does work the after photo cannot. It records scratches, chips, dents, curb rash, cracked trim, stains, tears, pet hair, and anything else that was already on the car when you arrived. If a customer contacts you a week later about a mark on the bumper, a photo taken before you started settles the question quickly and fairly. Before photos also make your after photos more impressive, because future customers can see how much actually changed.
The walkaround: before you touch the car
Walk around the car with the customer present if you can, and point out any existing damage as you go. Take every photo before washing or vacuuming anything. Here is a shot list that covers most jobs:
- The front, straight on and centered.
- The rear, same approach.
- Both sides, standing far enough back to get the full profile.
- All four corners at roughly 45 degrees, which shows two panels at once.
- Each wheel, close enough to see curb rash or brake dust buildup.
- The roof or hood, if they are part of the job.
- The interior from the driver’s door opening: driver and passenger seats, rear seats, carpets and mats, dash and console, and the headliner if it is stained.
- The cargo area.
- Close-ups of every problem spot you can see — stains, scratches, pet hair, odor sources, cloudy headlights, dirty wheel barrels.
It gives you a complete record of the car as you found it. Pull the mats out for the before shot if they are part of the job.
Shoot the after from the same spot
Consistency is what makes a before and after pair convincing. Stand in the same spot, at the same height, and frame the car the same way. Use the same lens — on a phone, stick with the main 1x camera, because the ultra-wide lens bends the car’s body lines. Turn the phone the same way (landscape or portrait) for both shots. When the two images match, the viewer’s eye goes straight to the difference in the paint, the interior, or the wheels, instead of trying to compare two different compositions.
Light, lens and angles
Open shade or an overcast sky lights a car evenly and shows the paint’s true condition. Harsh midday sun creates hard reflections on panels and hides swirls. If you have to shoot in direct sun, shift your angle until the bright reflection moves off the area you want to show.
Shoot the before and the after in similar light whenever you can. A before photo taken on a cloudy morning and an after photo taken in golden-hour sun may look dramatic, but it looks like a lighting trick rather than a real transformation.
For paint correction work, swirls and scratches show best under a focused light — a flashlight or a swirl-finder light held at an angle to the panel. Use the same light, at the same angle, for the after shot. A 50/50 shot, where half the panel is corrected and half is not, divided by a tape line, shows the difference in a single picture.
One more thing before you start: wipe your phone’s lens with a clean cloth. A fingerprint on the lens smears every photo you take.
Interior photos
Open the door and shoot from the door opening at about seat height. This angle matches how a person naturally looks into the car and gives a clear view of the seat, carpet, and lower dash. For carpets and footwells, shoot from above so the viewer can see the surface texture and any staining. Photograph the headliner too if it is stained or part of the job.
Close-ups that show the work
Wide shots show the overall transformation, but close-ups prove the detail work. Good pairs to capture include:
- A stain before and after extraction.
- Pet hair matted into the carpet, then the clean carpet.
- A cloudy headlight next to the restored, clear one.
- A dirty wheel barrel, then the cleaned barrel.
- Water beading on a fresh coating or sealant.
Get close enough that the problem fills most of the frame, and shoot the after at the same distance and angle.
Before you post them
Ask the customer if you may share photos of their car before you post anything. Crop or blur the license plate, and keep anything personal inside the car — mail, documents, children’s things, faces — out of the frame entirely. When you edit, keep it straightforward: crop and straighten as needed, but do not add filters that shift the paint’s color or brighten the after shot more than the before. The work should speak for itself. Google Business Profile, Instagram, and your booking page are the most common places to share them.
Keeping photos with the job
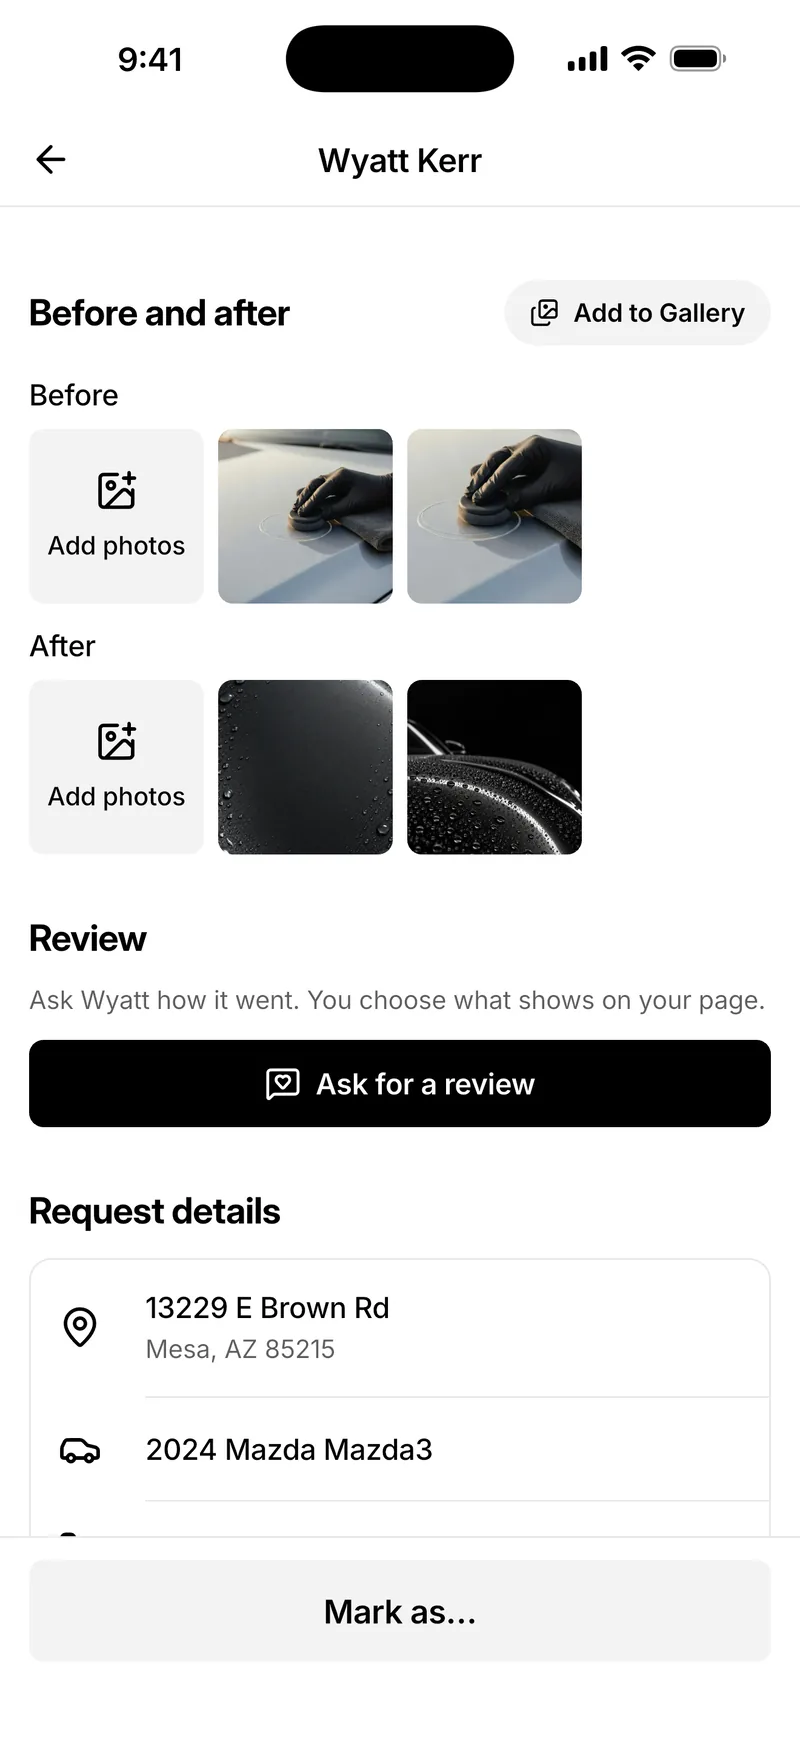
In TwoBucket, every booked job has a Before and after section, in the app and on the web. You can add up to 50 Before and 50 After photos per job, taken with your phone’s camera or chosen from your photo library. Each photo is stored with the job and its customer, private to your business, with the time it reached TwoBucket recorded. Location and camera data are removed automatically.
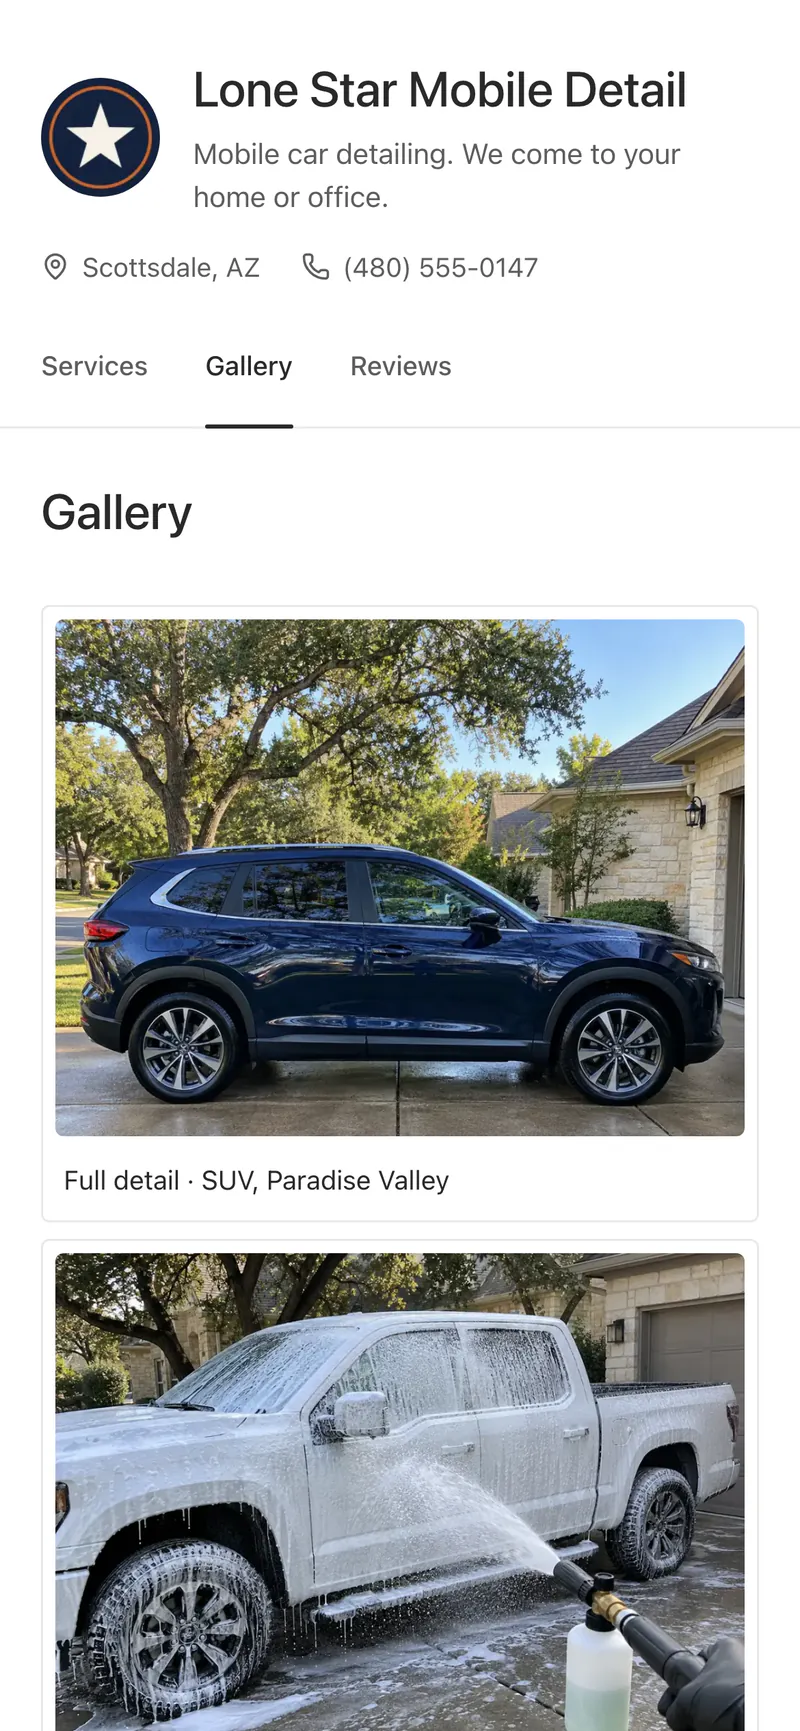
When a job is finished, you can pick up to 8 Before and 8 After photos and add them to your booking page’s Gallery as an album in one step. TwoBucket titles the album with the vehicle and the first service, and it stays hidden until you turn it on. Customers can also attach photos of their car when they send a request, so you see the condition before you quote.
We make TwoBucket — mobile detailing software for solo detailers and small teams, with a booking page, quotes, invoices, card payments, scheduling, and before and after photos on every job.
Questions
How many before and after photos should I take per job?
Enough to cover the full walkaround and every problem spot, with an after photo to match each before. The shot list above is a good starting point. TwoBucket holds up to 50 Before and 50 After photos per job.
Should I use my phone or a dedicated camera?
A phone works well for detailing photos. Use the main 1x lens rather than the ultra-wide, wipe the lens before you start, and keep the phone turned the same way for both shots.
What if the lighting changes between the before and after shots?
Try to shoot both sets in similar light. If that is not possible — for example, you start early on a cloudy morning and finish under afternoon sun — adjust your angle to avoid harsh reflections on the after shots. Being upfront about lighting differences is better than editing the after photo to match artificially.
Do I need the customer’s permission to post their car online?
Yes. Ask before you share any photos of their car. Even with permission, crop or blur the license plate and make sure nothing personal inside the cabin — mail, documents, faces — is visible in the image.


